All guides
Getting started with the desktop app
Install DISKO, create your first library, and import footage — then let the machine do the boring parts.
Install and first launch
Download DISKO for your platform from the download page, open the installer, and drag it to Applications (Mac) or run it (Windows). That is genuinely it — DISKO is fully self-contained, so there is no FFmpeg to install, no plugins, no dependencies. Everything it needs ships inside the app.
On first launch you get a 7-day free trial with everything unlocked — no card, no account required for local features. DISKO will ask you to create your first library: a library is a database of your media (the catalog, not the files themselves — your footage stays exactly where it is on your drives).
You can create multiple libraries later — one per year, one per client, however you like — and switch between them from the titlebar. Each can have its own password.
Import your footage
Drag a folder — a card offload, a project folder, a whole drive if you are feeling brave — onto the DISKO window, or use the import button. Assign it to a client and project as you import so the sidebar stays organized from day one.
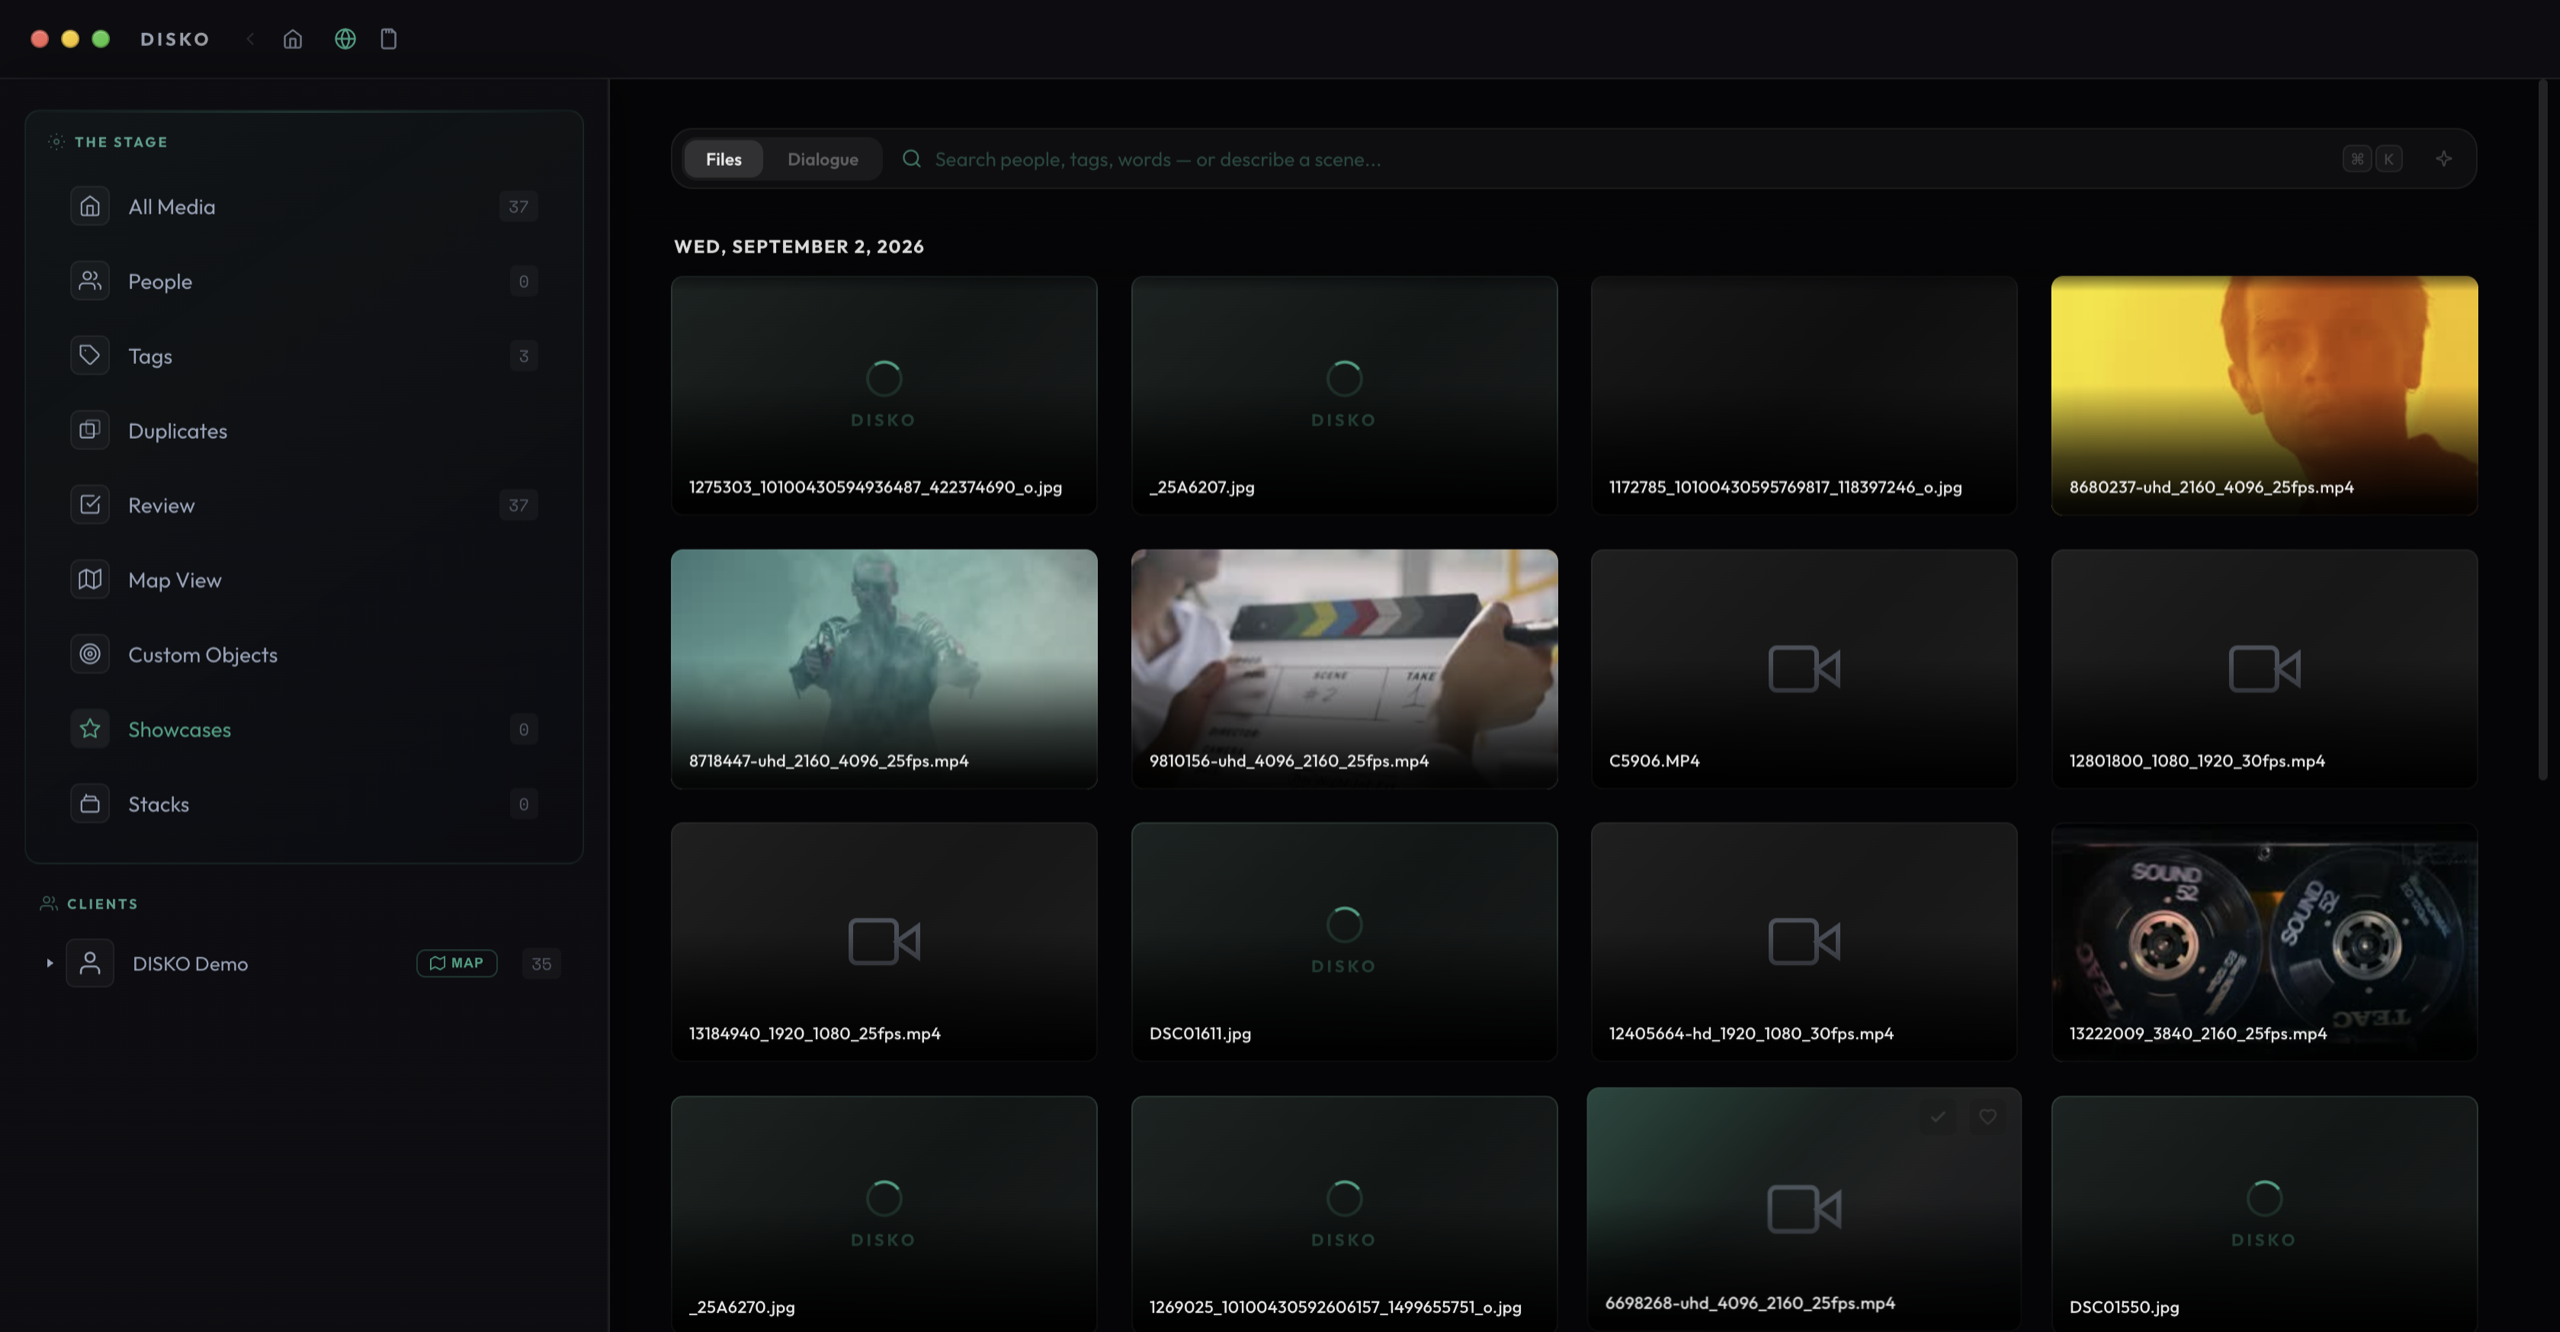
Import never copies or moves your files. DISKO catalogs them in place, which means it works with your existing folder structure and your existing drives — including drives that are sometimes unplugged. Offline files keep their thumbnails and metadata, and DISKO plays a proxy if one exists.
What happens automatically
After import, DISKO quietly works through a pipeline — all of it on your machine, none of it uploaded anywhere:
- 1Thumbnails — generated first, so the grid is usable within moments.
- 2Metadata — camera, lens, resolution, frame rate, timecode, GPS, log profile, and more, extracted from every file.
- 3AI tagging — DISKO Vision looks at your footage and suggests searchable tags and scene descriptions. On Apple silicon this runs on the Neural Engine.
- 4Transcription — every clip with speech gets a searchable transcript with speaker detection, powered by an on-device Whisper model.
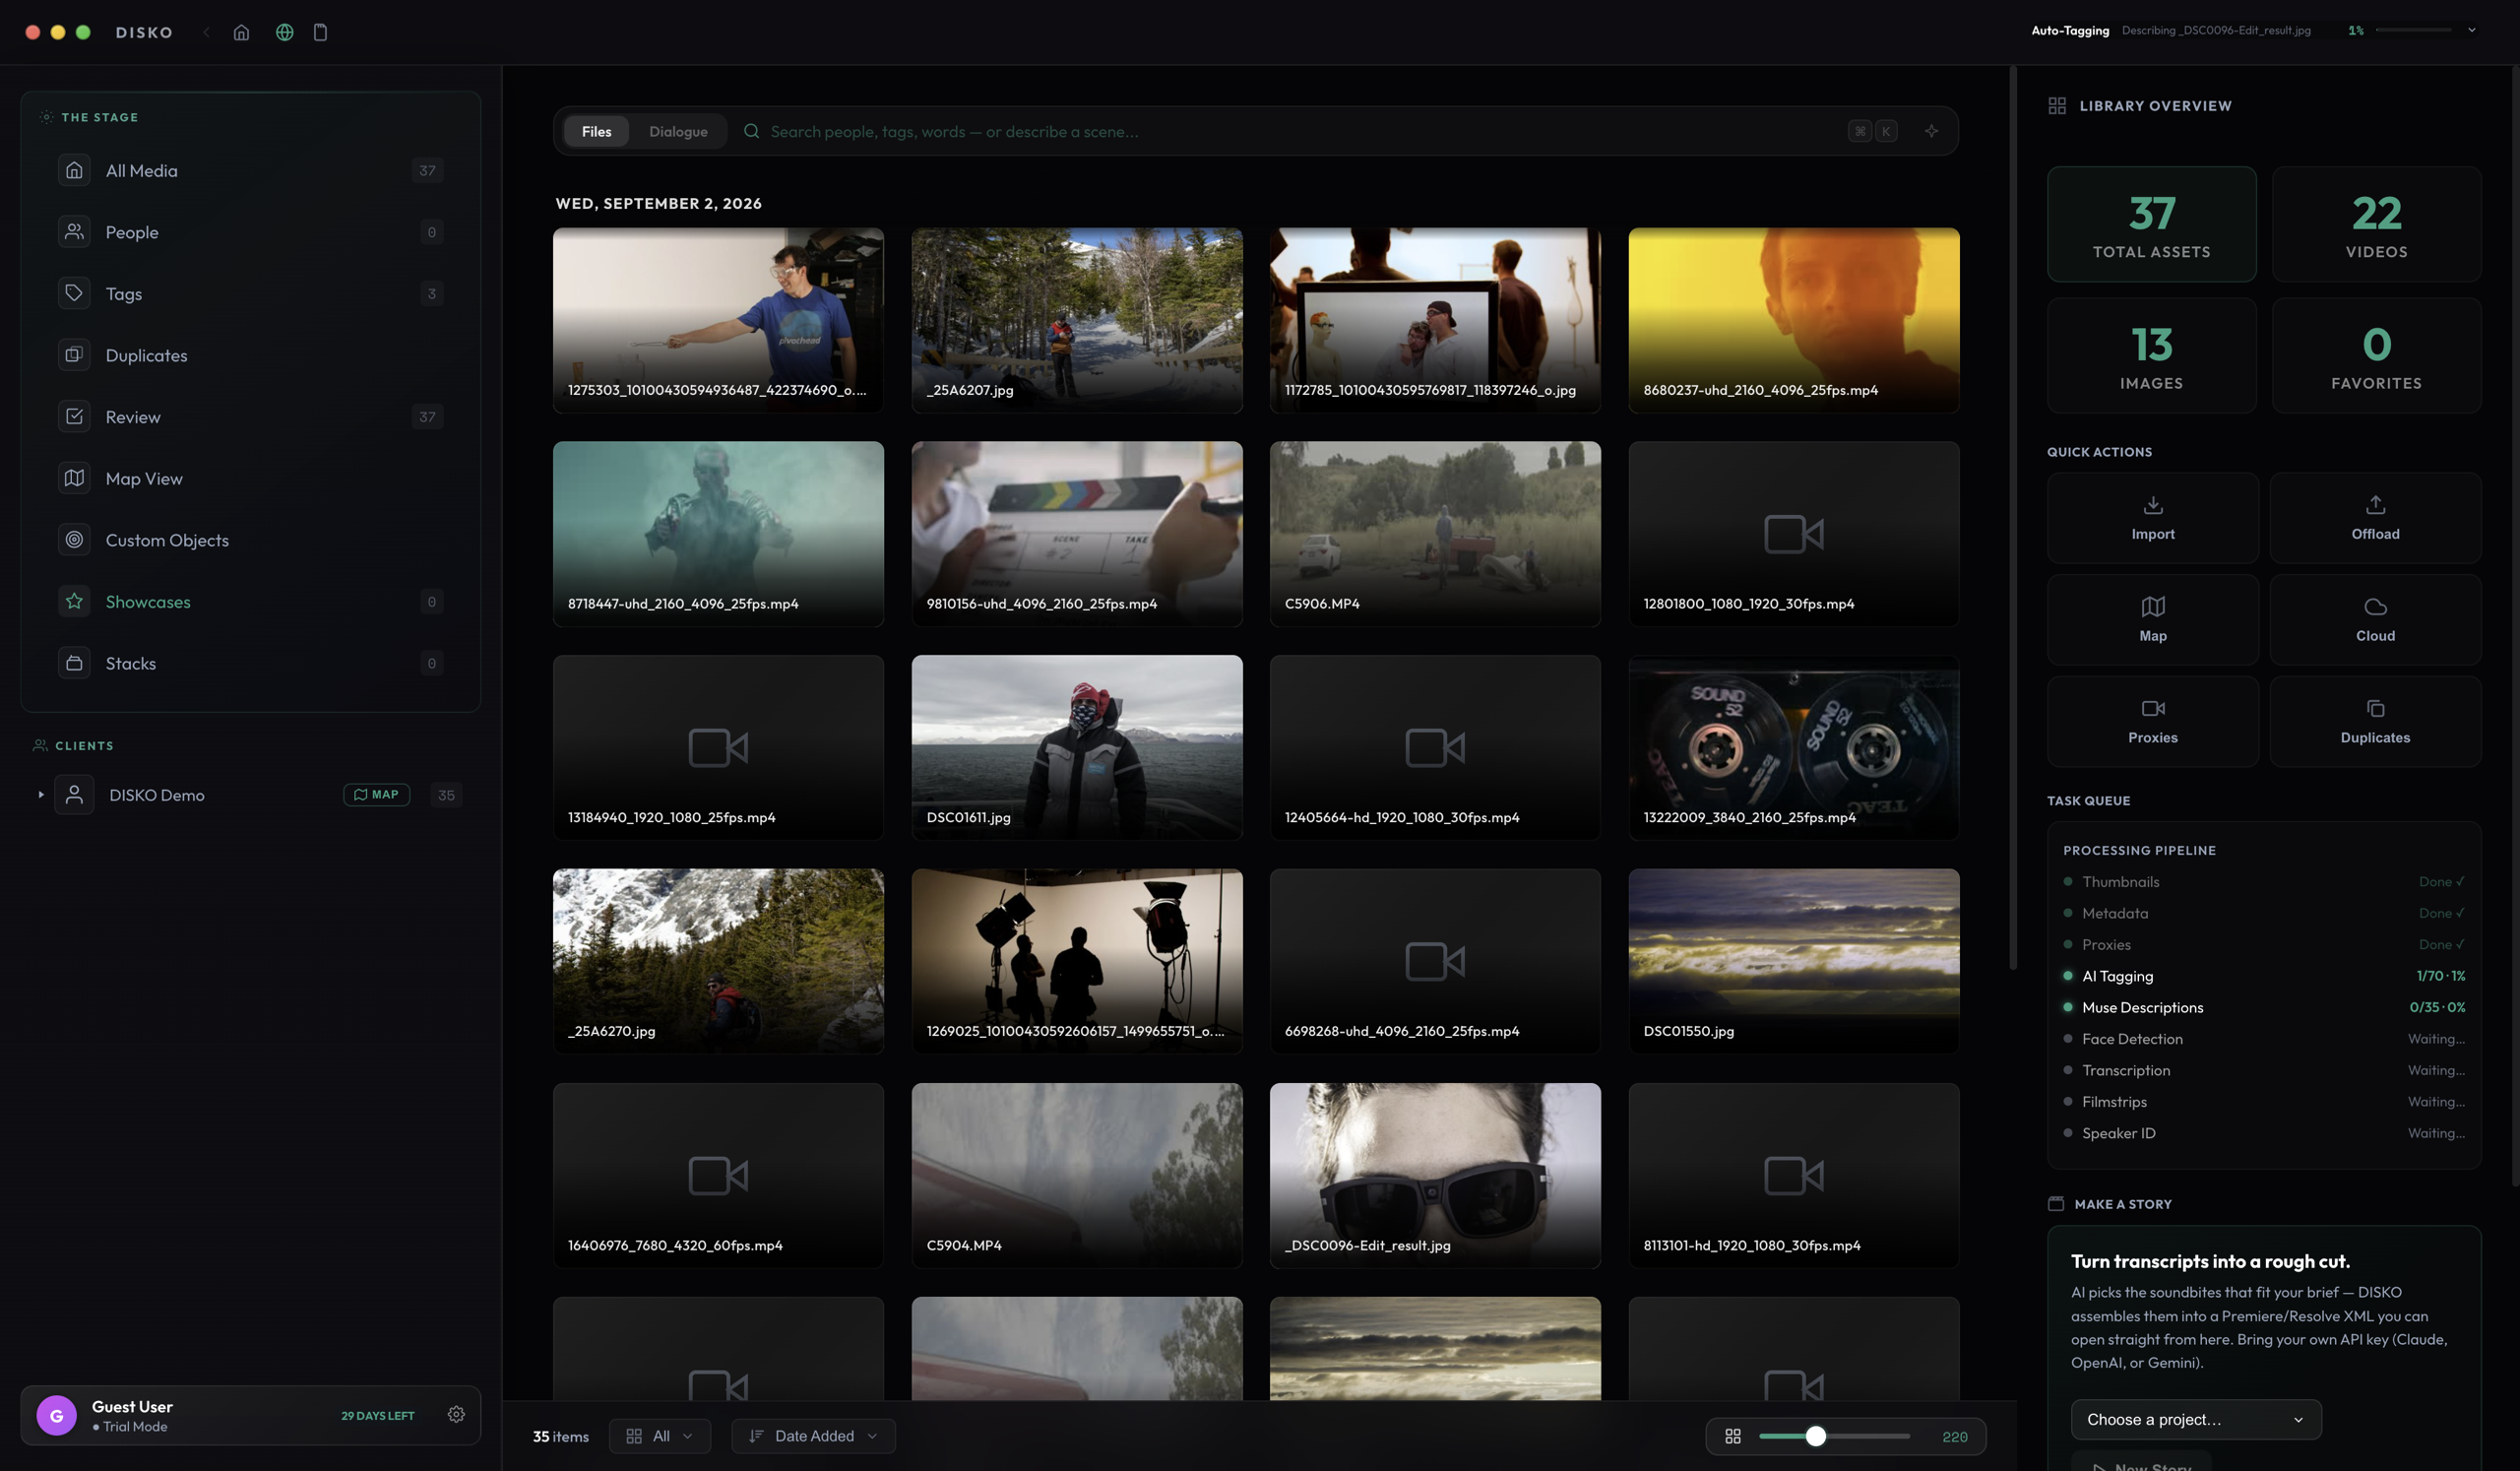
The pipeline picks up where it left off — quit the app mid-tagging and it resumes next launch. No babysitting required.
Finding your way around
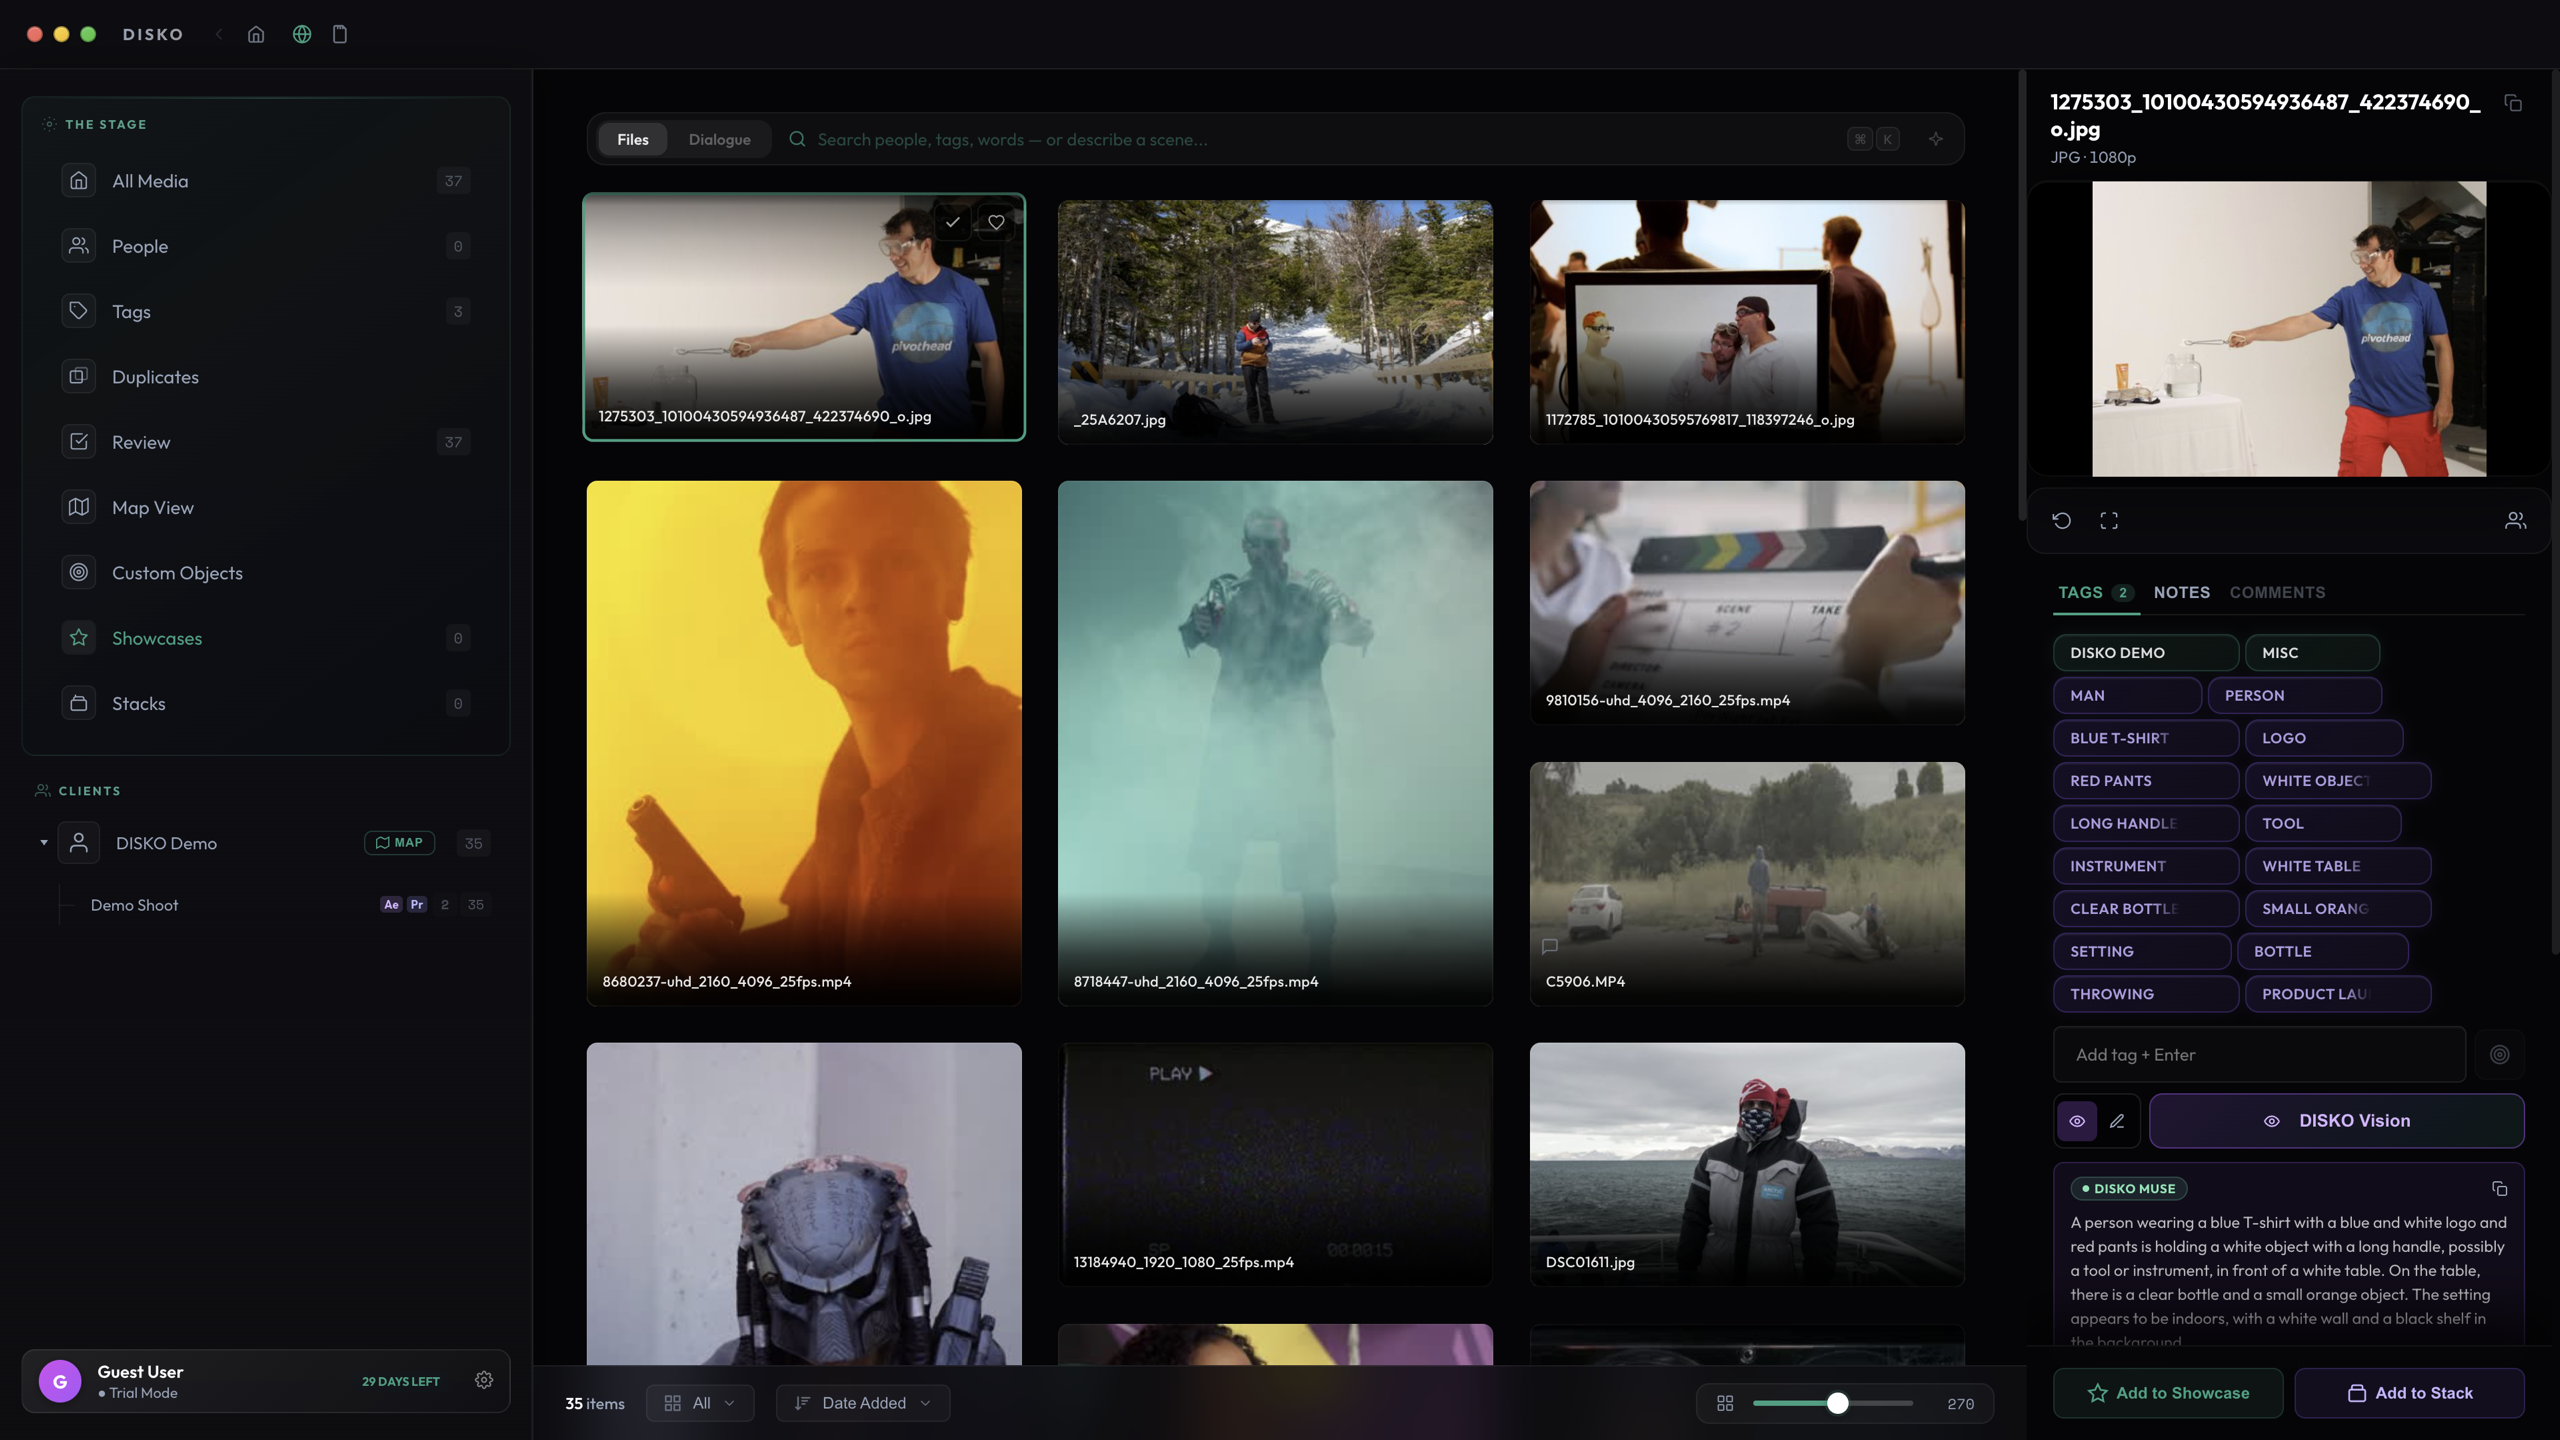
The sidebar organizes everything by client and project. Click any file and the inspector shows its metadata, tags, people, transcript, notes, and location — plus playback with LUT preview for log footage. The map view plots every geotagged clip, which is a surprisingly good way to find "that thing we shot at the coast".